
Horse Fencing Guide
How to Introduce a Horse to an Electric Fence: A Step-by-Step Training Guide
October 21, 2026 · 8 min
Most horses learn to respect an electric fence after one or two touches. That's the honest answer, and it's backed by how equine learning works: a single sharp, memorable pulse creates an association that lasts for years. But the introduction itself is where things go right or wrong. A horse that first meets the fence mid-spook, at speed, can go straight through it and learn nothing except fear. A horse introduced calmly, in daylight, with a visible boundary, usually touches the rail once with its nose, jumps back, and stays clear of the line for the rest of its life.
This guide walks you through the full electric fence training process: the setup checks to do before your horse ever enters the paddock, the introduction itself, the first 48 hours of supervision, and the mistakes that quietly undo weeks of progress.
Why the Introduction Matters More Than the Voltage
It's tempting to think a stronger charger does the training for you. It doesn't. Voltage determines whether the pulse is memorable. The introduction determines what the horse learns from it.
Zareba Systems, a major North American electric fence manufacturer, puts visibility at the top of both its training and safety priorities: horses must be able to see the fence from a distance, even at a gallop, so they can slow down before they reach it. A horse that can't see the boundary doesn't learn where it is. It just learns that the pasture hurt it, and a spooked horse running blind into a hot line is how injuries happen.
So before you think about joules or grounding rods, think about what your horse actually sees. Thin steel wire almost disappears against grass at twenty paces. Wide polytape, flagged wire, or a wide coated rail reads clearly across the whole field. The more visible the conductor, the faster the training goes and the safer the whole system becomes.
Before You Start: Three Checks
1. Confirm your voltage
For horses, the widely accepted minimum is 2,000 to 3,000 volts on the line, with 3,000 volts as the reliable target. Kencove, a major fence supply company, recommends introducing horses at maximum voltage so the first lesson is unmissable, then noting that trained horses respect the fence from around 3,000 volts. If heavy vegetation presses the line or your fence run is long, Horserail's guidance suggests 4,000 to 5,000 volts at the charger to keep the far end of the line effective.
Buy a digital fence tester if you haven't already. Test at three points: right at the energizer, at the midpoint of the line, and at the farthest corner. A common installer rule of thumb is that the farthest point should read within about 500 volts of the energizer output. A bigger drop than that usually points to vegetation contact, a loose connection, or a grounding problem, all worth fixing before training starts.
2. Sort out your grounding
Up to 80 percent of electric fence problems trace back to poor grounding, and a weak ground means a weak pulse no matter how good your energizer is. The standard setup is at least three galvanized rods, six to eight feet long, spaced about one and a half times their length apart. In dry climates, four or five rods serve you better. If your ground system is short, your horse may touch the rail, feel almost nothing, and conclude the fence is bluffing. That conclusion is very hard to reverse.
3. Make the boundary visible
If your conductor is a wide rail or wide tape, you're already most of the way there. If it's wire or narrow braid, flag it. One livestock fencing guide recommends bright flagging every three to five feet along the line so movement catches the horse's eye. Plan to leave the flags up for two to three weeks, removing them gradually once every horse in the paddock is keeping a clear distance.
The Introduction, Step by Step
The following sequence is the one recommended by Zareba Systems and echoed by System Equine's training guide. It works for first-time pasture introductions and for horses new to electric fencing after a move.
Step 1: Walk the perimeter with the power off
Turn the energizer off first. This is for your safety as much as the horse's: a shocked horse on a lead rope can bolt, and you're holding the other end. Lead the horse slowly around the full perimeter, letting it look at the boundary, sniff the posts, and see the flags or rails. You're not asking it to touch anything. You're just showing it where the edge of the world is while everything is safe.
Step 2: Energize the fence and let the horse explore alone
Turn the power back on. Release the horse into the paddock on its own, without other horses if you can manage it, and leave the enclosure yourself. A few practical points here:
Don't hold the horse while it investigates. If it gets shocked in your hands, it may associate the shock with you or with being caught.
Stand outside the fence line, and make sure no one else is inside.
Do the introduction in daylight, never at dawn or dusk when the line is hardest to see.
Several trainers suggest placing a little hay a few feet back from the fence line, so the horse drifts toward the boundary at a walk rather than discovering it at a canter.
Step 3: Watch, and let the lesson happen
Now your job is patience. Stay within sight and watch the horse explore. Most horses approach the conductor, touch it with their nose, snap their head back, and move off. Some will think it over and test a second time. One or two touches is the normal cost of the lesson, and after that, the average horse respects the line permanently.
The reaction you want to see is a clean recoil and a new habit of grazing a few feet inside the boundary. What you don't want is panic, running the fence line, or a horse that charges through. If that happens, the horse likely couldn't see the conductor, the pulse was too weak to be credible, or the introduction happened in the wrong conditions. Go back, fix the visibility or the voltage, and repeat the walkthrough calmly a day or two later.
The First 48 Hours
Learning happens fast, but habits cement over the first two days. During that window:
Keep the power on around the clock. The cost of running a fence energizer is roughly that of a 100-watt light bulb, and a fence that goes dead overnight teaches the herd that the boundary is negotiable at dusk, exactly when horses are most active.
Keep an eye out for repeat testers. Most horses are done after one touch. A confident young horse or a stallion may come back for a second or third opinion, and that's fine, as long as the pulse is waiting every single time.
Watch herd dynamics. A dominant horse can shove a subordinate into the line, which creates a fear response rather than a learning one. If your paddock is crowded, give the newest horse space or separate groups for the first few days.
After the first week, most of the risk has passed. Farm experience suggests monitoring closely for 10 to 14 days, and treating any fence-testing that resurfaces as a signal to check voltage rather than blame the horse.
Mistakes That Undo Training
A short list, because each one is common:
Turning the fence off at night. Animals are most active at dawn and dusk. A dead fence at those hours teaches disrespect faster than a good introduction teaches respect.
Feeding at the fence line. Water troughs pushed close to the conductor, grain pails hung on posts, and hay tossed near the line all create nuisance shocks. The horse learns to flinch near its food, not to respect the boundary. Keep feed and water well inside the paddock.
Removing the flags too early. Visual markers come out gradually, a section at a time, after two to three weeks of consistent respect. Pulling them all on day three can reset the whole process.
Leading the horse to the fence and encouraging it to touch. Practical Horseman's trainers warn against this directly: a horse pushed into contact may decide that your actions, not the fence, caused the zap. The touch has to be the horse's own idea for the lesson to stick to the right object.
Introducing a foal to electric fencing. Young foals are unsteady, drop off to sleep wherever they happen to be, and can roll under a single hot strand before they understand it. Nursery paddocks call for tight physical fencing first. Electric belongs later, once the youngster is coordinated and can see a wide, visible conductor clearly.
How a Flexible Rail Changes the Training Equation
Everything above assumes the horse can see the conductor. That assumption does most of the work in the speed and safety of training, and it's where rail-type systems earn their keep.
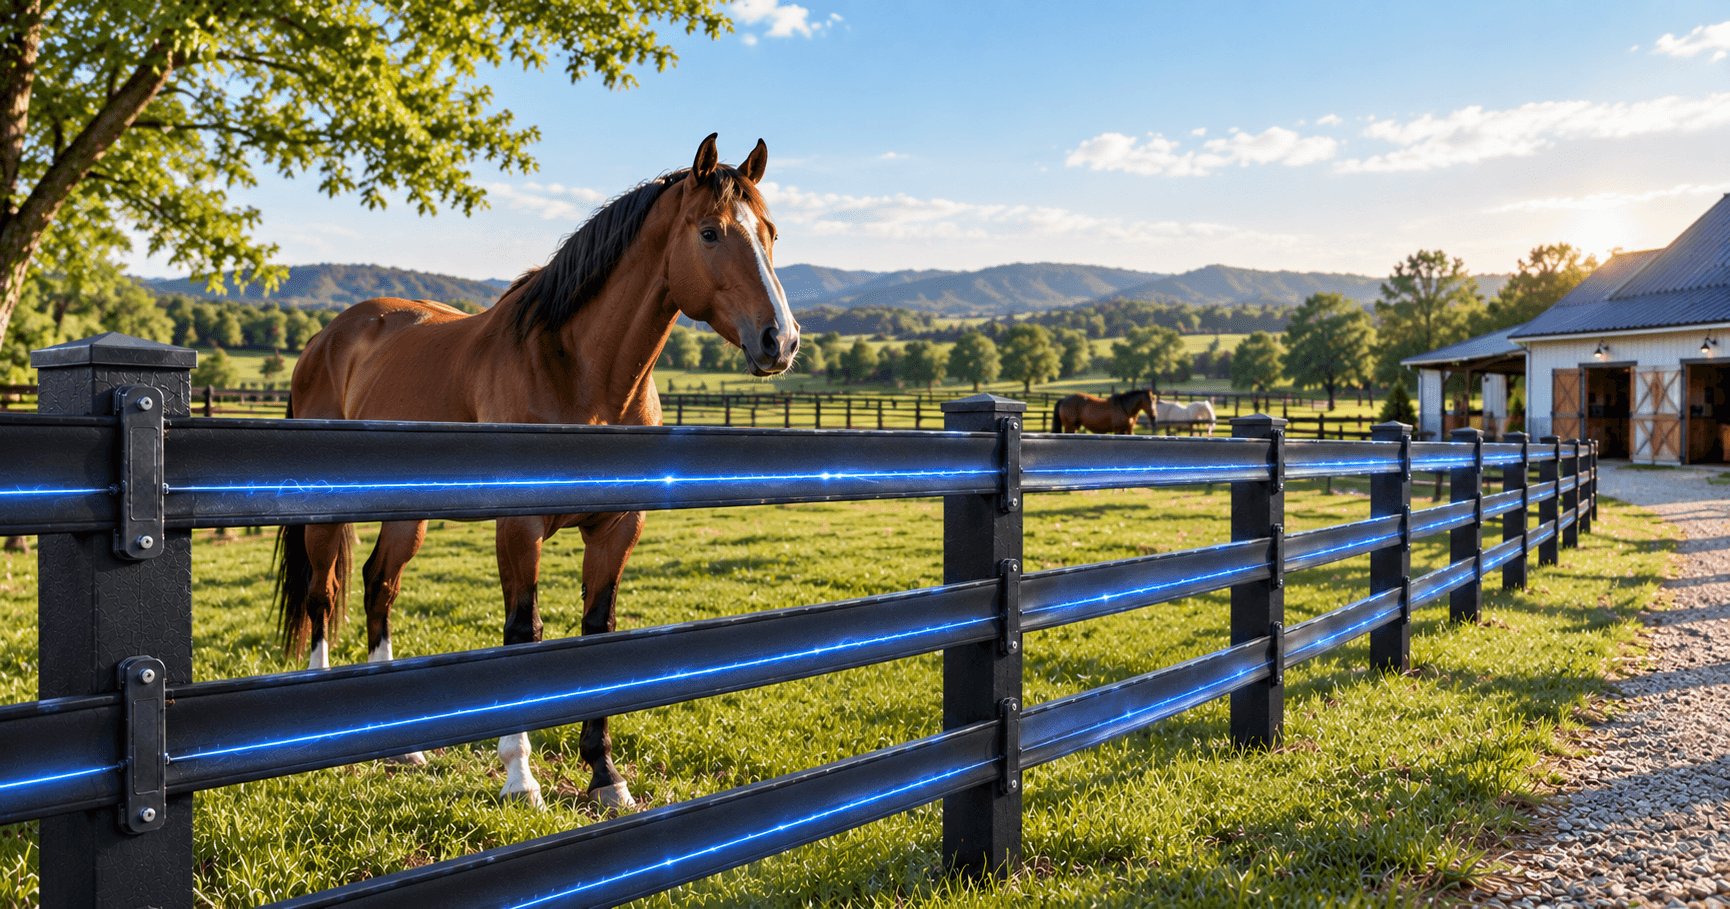
A wide flexible rail like migaequine's MigaRail carries its charge through an integrated graphene conductive layer inside the rail itself, so the entire 108 mm wide surface is the conductor. Compare that with a thin strand of steel wire. The rail reads as a solid visual wall from across the paddock, which means your horse learns the boundary at a walk, not at a gallop. The white polymer surface holds contrast against grass, sand, and snow in a way dark wire never will, and because the conductor is inside a flexible polymer rail, the horse that does make contact gets the pulse from a surface that gives, rather than a rigid edge that cuts.
The training sequence stays the same. Walk the perimeter, energize, observe. What changes is how quickly the horse maps the boundary, and how forgiving the system is on the day something goes wrong. A 4,200 lb break strength rail backed by a low-impedance energizer gives you two layers of containment: the psychological barrier the training builds, and the physical barrier that catches the horse that spooks before it has finished learning.
FAQ
How long does it take to train a horse to respect an electric fence? Most horses learn after one or two touches, which typically happens within the first hour of introduction. The habits cement over the following 10 to 14 days, so plan to monitor closely for two weeks. Consistent voltage during that window matters more than anything else you do.
What voltage should I use to introduce a horse to electric fencing? Test the line at a minimum of 3,000 volts before the introduction, and introduce at the highest voltage your system safely delivers so the first lesson is unambiguous. Trained horses respect the fence from around 3,000 volts. Long lines or heavy vegetation call for 4,000 to 5,000 volts at the energizer.
Can I train a horse to an electric fence in a small pen? Yes, and it's the recommended approach for first introductions. A roughly 20-foot square pen inside your perimeter fencing gives the horse room to react to the first pulse without backing into the far side. Use posts no more than 6 feet apart, at least two courses of conductor, and flag the pen generously so the horse sees it well before touching it.
Is electric fencing safe for horses? Yes, when it's installed correctly and the horse is introduced properly. Modern energizers deliver high-voltage, low-amperage pulses that last a fraction of a second. The pulse is uncomfortable, not injurious. The real risk isn't the shock, it's a horse running into a conductor it couldn't see, which is why visibility is the single most important safety feature of any electric horse fence.
Call to action
Build Your Fence System
Talk with our team about your property, your layout, and the right system combination for safer, longer-lasting equine fencing.